It's Easter time!! which means its time to get out your dying kits and start dipping those eggs. Decorating eggs for Easter is something I've done ever since i was younger. we would color the eggs with the white crayon and then dip the egg in the dye. I was always so amazed by how what i drew on the egg with the white crayon had stayed white and was magically visible because the rest of the egg was now painted a color. As i got older i became more adventurous in my dipping but eventually my siblings and i grew bored of the same thing every year. So now we try to go out and find different fun ways to decorate Easter eggs.
This year we did tye-dye eggs. all you need is a plastic bag, colored dye, straws with 1 end sealed shut (or anything that you can use to lift up drops of dye), eggs, and a cooling rack to get the eggs to dry.
Tip: also may need plastic gloves because it can get messy if you touch the eggs ever, also wax paper is good to put under your working and drying space to keep your table cloth save from any drips from the dye.
Step one: place egg in plastic bag and hold is so the opening is scrunched down so the egg is right at the opening of the bag.
Step two: use the straw to lift up any color dye and then carry it over to your egg. drop color or colors onto egg.
Tip use a different straw for each color
Step three: with what ever colors are on your egg. use the plastic bag to mix around the dye and completely cover the egg in dye
Tip: you can either cover the egg with one color 1st and then layer it or drop more then one color on the egg and mix them together with bag
Step four: set on drying rack
some other decorating things my family has tried with decorating eggs is stickers. we would do the regular dying of an egg and then go out and buy some face stickers and use them to put a mouth, some sunglasses, and maybe even a hat onto the egg. fun way to make the eggs come to life.
something i have also done which isn't quite your normal dying of Easter eggs, but its Ukrainian egg art. i learned it in middle school and it can be fun and in the end it looks really cool, but it takes a lot of patients and knowledge of how dying different colors on top of one another works. i wont go into to much detail but you use a tool that help you draw on wax onto an egg so then later when you dye it and then melt of the wax, the areas that had the wax stay white. and then you can put on more and more layers, and with the tiny wax tool you can very intricate designs. i encourage you to learn it, and try it, however this is not something kids would enjoy very much because it takes patients, fire, hot wax, and a steady hand.
No matter how you decorate your eggs just make it fun and creative and each egg with turn out very unique, as they should be.
Sunday, March 27, 2016
how to garden in different weather and environments.
Gardening can be difficult and depending on the weather it can make it difficult to keep your plants looking nice and healthy.
he main and most important tip is to always do your research, and always read your labels. Ever place you go the vegetation is different, because different plants can only grow in certain climates, seasons, and because of other environmental factors. You don’t want to buy an expensive plant that only grows in the summer and then dies if where you live you have short summers. It is like planting a tropical plant in a desert and watering it a cup of water a day. Doing your research and reading your labels will tell you which plants can grow the best in your area, how much water they need, the amount of sunlight, the type of soil, etc. Some plants may need to get sun for twelve hours and other may only need it for three or else they dry out quickly. A big tip I have for finding the best plant and saving money is buying a plant that will come back next season so then you don’t need to go purchase a new one when that flowers season comes around again. Another hint to saving money is to buy seeds instead of already gown plants. Many people don’t like to take the time for them to grow but if you take good care of them it saves you more money and you can get more flowers out of a pack of seeds then a couple flowers in a container from the flower shop. A couple last tips are to keep it colorful, bright colors in a garden make a home look exciting, fun, and joyful. Also brick work is always great around a garden. It can help keep critters out and separate your garden from the grass or driveway. Brick can be used for a wall that goes up from the ground to the garden, or be in the ground making a line of separation from anything else. Anything you do with a garden and plants will look good and add lots of character to the outside of your homes what why I think it is important to know where to start and how to improve it as time goes on.
plants don't just grown in the spring and summer, some plants are year round or even are only up for a couple of weeks. these flowers are especially interesting because you have to be ready for them when they finally bloom.
why some colors work and some colors don't
its sad but true that not all colors work in all rooms or every type of home. for example a light blue might look good in the bathroom, or a kids room, but a light room in the living room not so much. I can try to picture a way that it could work, but nothing come to mind. When picking out colors for a room there are many things to think about such as; what do you want the feel of the room to be? is it an appropriate color for the bathroom or kitchen? does it go good with the flooring? all of these are great questions to ask when trying to pick out a color for a room. here are some tips to help you decide what looks best.
dark blue-sophisticated, a good color for a reading room or if you want a bit of a colorful in an office
light blue- kid friendly color. great for kids room.
light pink-also a very kids oriented color for a room
yellow- this is a very bright and sunny color, makes sense that its really for a room like a sun room. don't make the mistake that my mom did and try to paint the kitchen a mellow calm yellow, and wake up to the sun literally in her kitchen. I'm glad to say that immediately that day she repainted it white.
green- you have to be really bold to use a color like green. green shoes nature and sometimes wealth but I would not recommend painting your living room green under any circumstance.
light purple- this is a very spiritual color
white- basic color that can go perfect in any room. is great for opening up spaces and making everything seem brighter and bigger. always a great color choice if you aren't a person who likes colored walls.
purple- this color can be a very calming and also bold color choice
maroon- this is one of my favorite colors that has been in style this season that I have seen in many kitchens, living rooms, and bedrooms.
If you are not a big fan of your entire living area being a color you can always use the color whether its maroon, or blue, or purple as just an accent wall. so one wall will be a color and the rest will be either a white, cream, or gray. that is what I did for my room because I didn't like the idea of my entire room being purple so I had one wall purple and the rest grey and used purple accent pieces to match like my purple curtains and some purple pillows.
when picking out the types of paint there are certain paints that are made especially for easy cleaning in case of messes, and better wear and tear resistance, both great qualities to have in a paint if you have kids. this definitely came in handy when my little sister for some reason decided to draw with black marker all over the white walls in the living room.
patterns are a great thing to play will on walls but can also be tricky to match with other things in the room. my advice for this is you will either love it or hate is. also kids rooms are good way to test this out and a textured or patterned wall can always look good in a kids room because they are a kid and there room should be colorful and full of fun shapes and patterns.
I am sure there are more things to think about when picking out a color for a room but I hope these tips helped you pick the right color for your room.
Sunday, March 13, 2016
no carb cauliflower pizza.
pizza is one of the best foods by far, however the bad thing about pizza is the carbs! so good but not so good for you. the best way to eat pizza with out the loads of carbs is no carbs at all. no carbs? no problem, just make your own crust with cauliflower instead of flour.


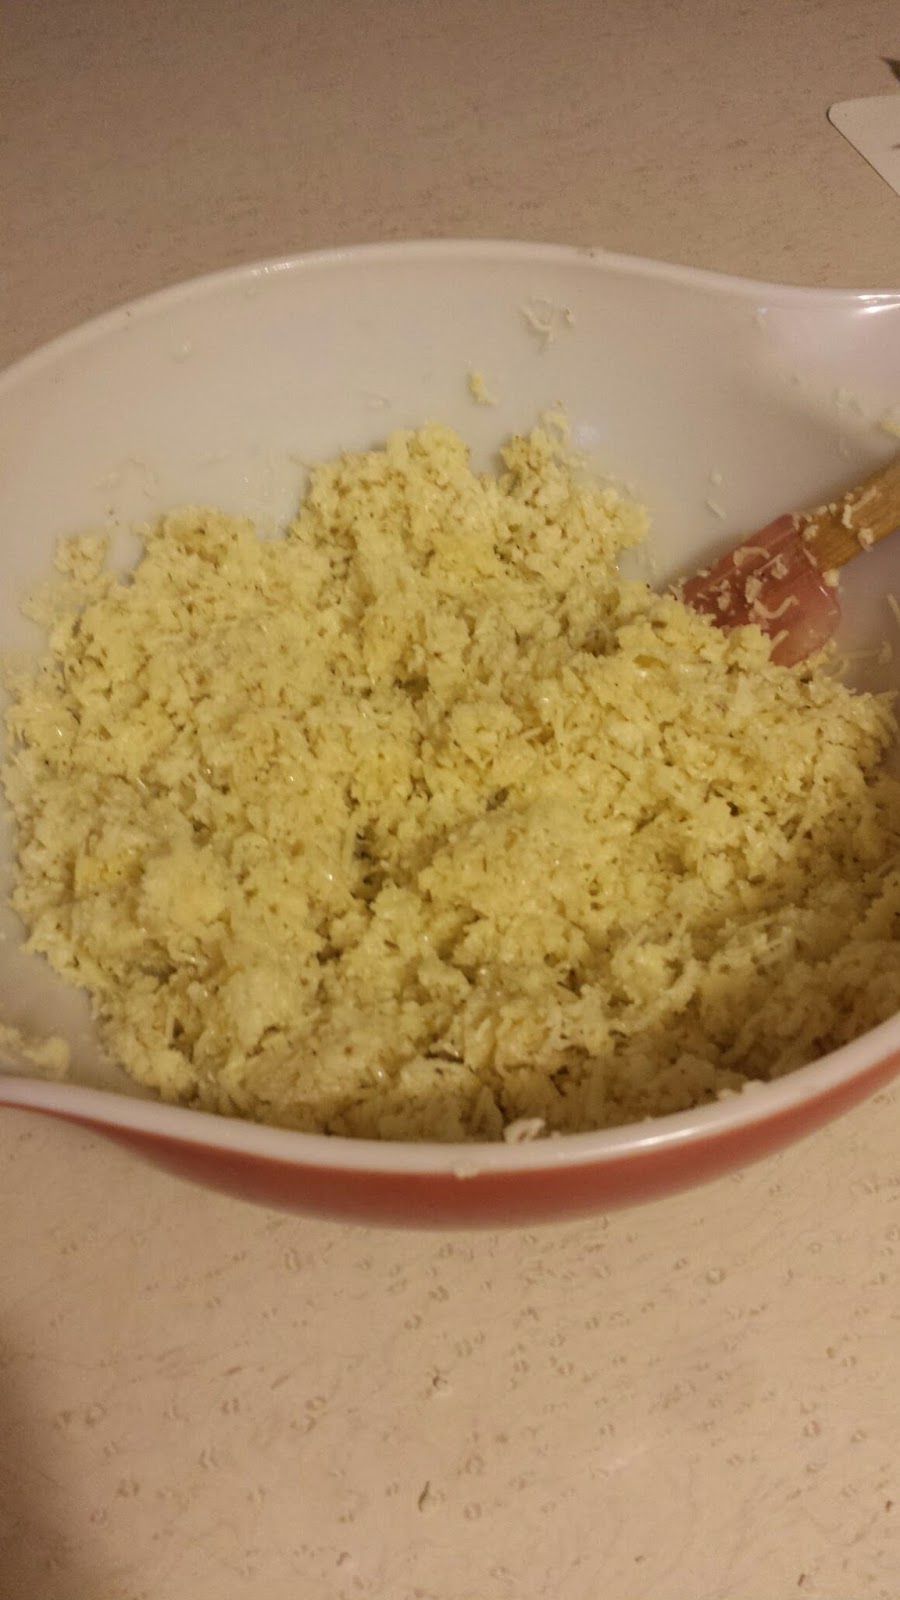
Step two: heat chopped up cauliflower in the microwave tell steamy


Step three: in a bowl combine 2 eggs and Italian seasoning to taste (meaning the amount of seasoning should be as much as you like)


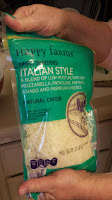
Step four: add italian style cheese to egg mixture. then mix in the cauliflower.


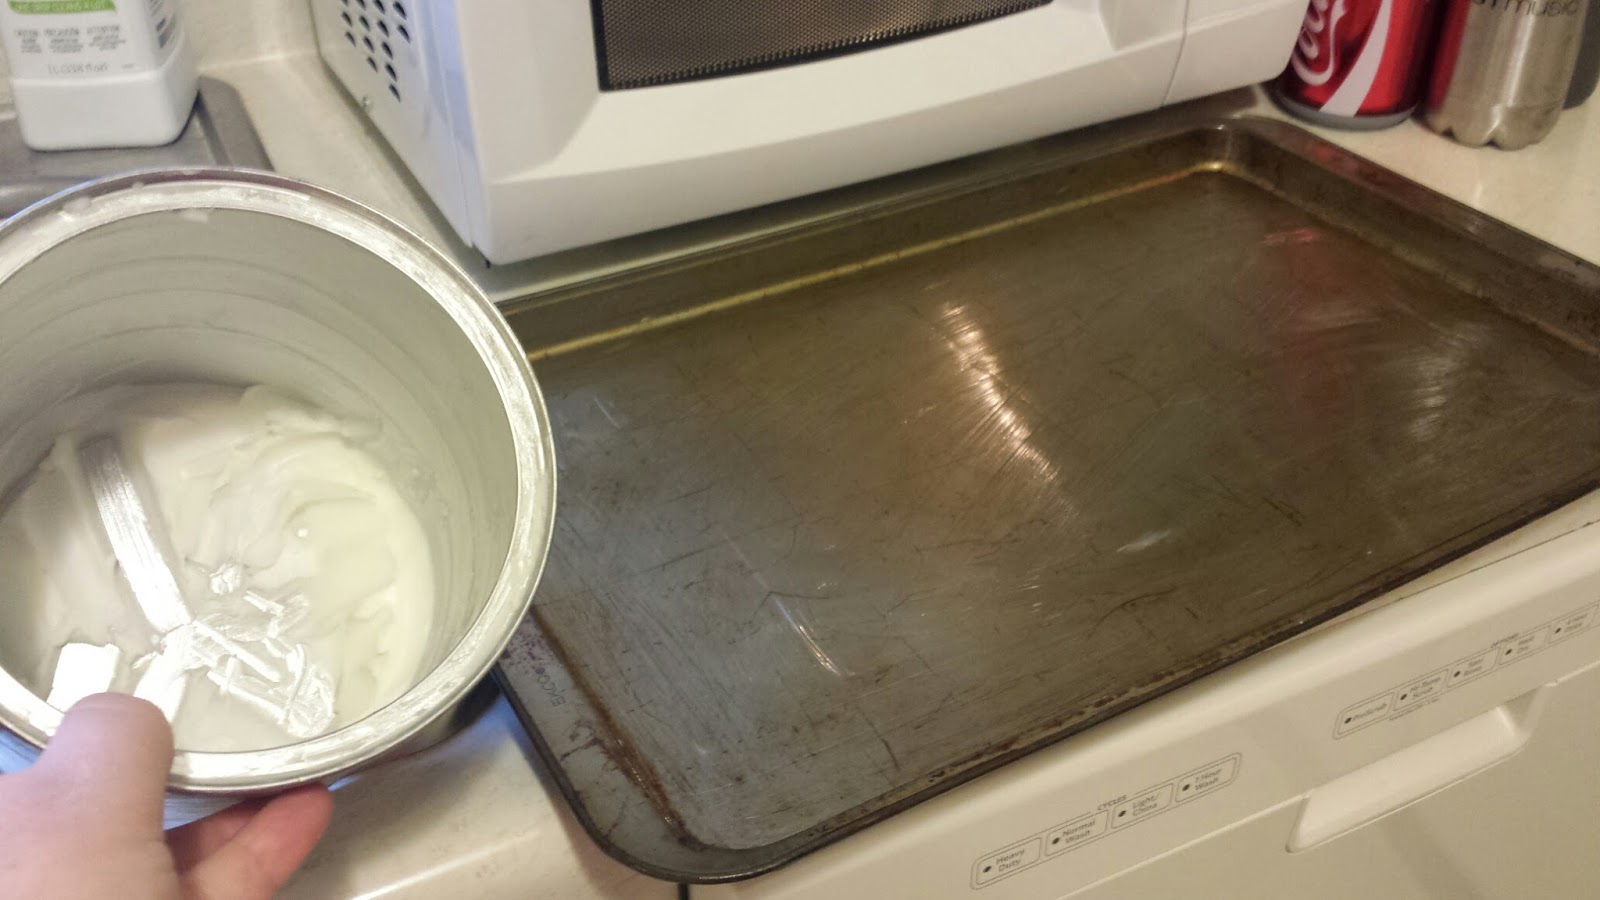
Step five: butter pan with crisco and evenly spread out the pizza crust onto the pan


Step eight: after pizza crust is golden brown, start to add your sauce and topping. then stick back into the oven for another 10 min and there yah go!

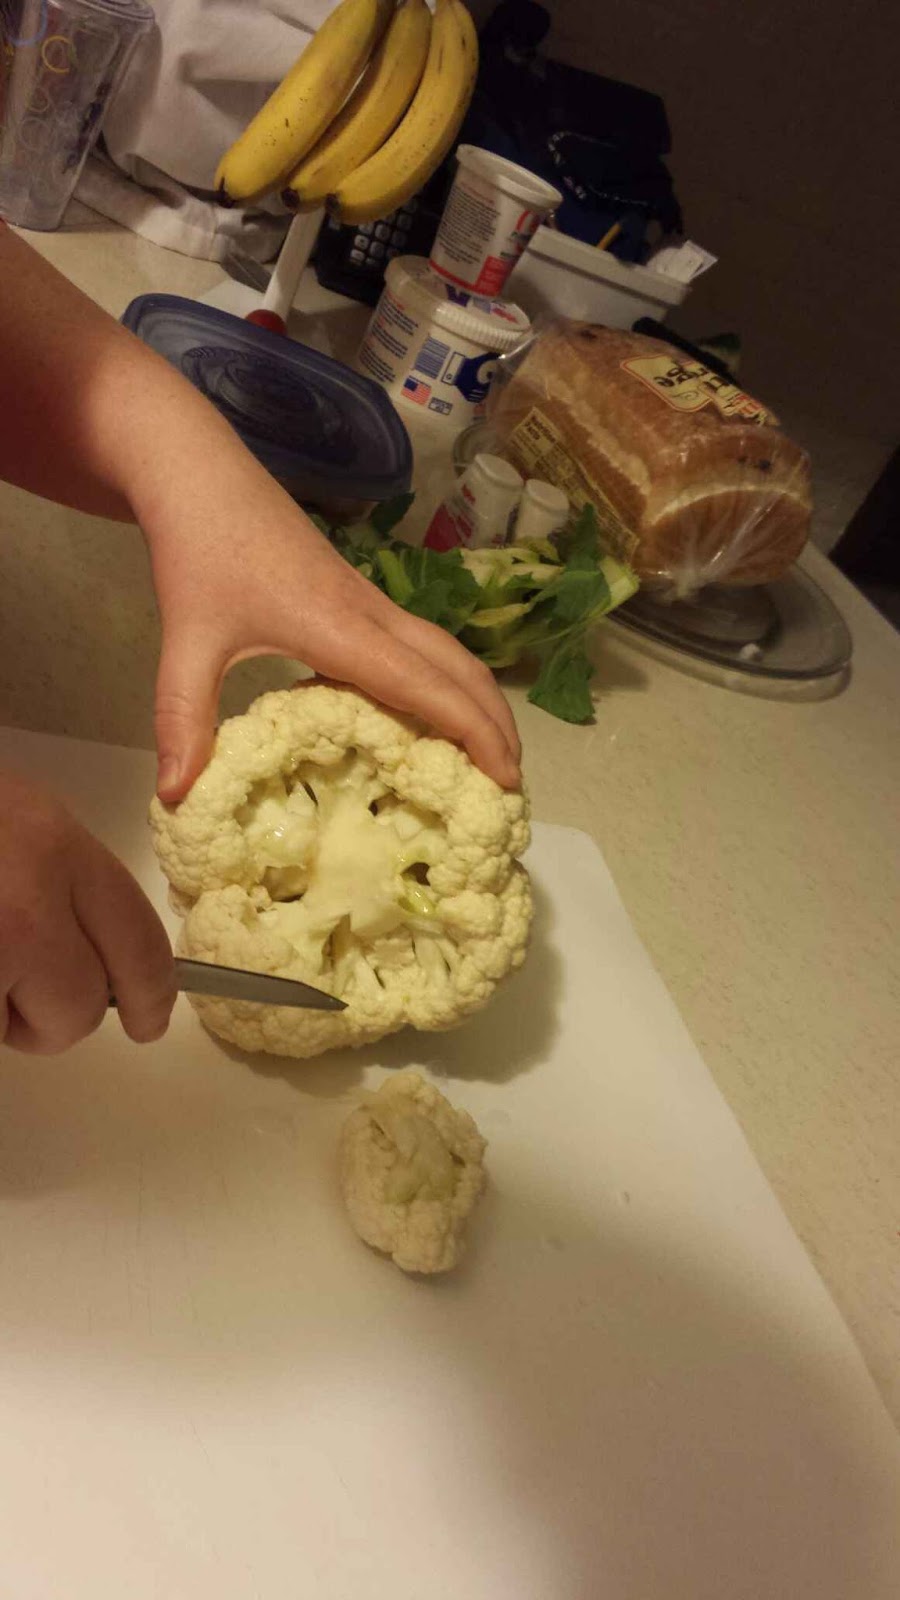
Step one: cut up one head of cauliflower and grind up in food processer.


Step three: in a bowl combine 2 eggs and Italian seasoning to taste (meaning the amount of seasoning should be as much as you like)


Step four: add italian style cheese to egg mixture. then mix in the cauliflower.


Step five: butter pan with crisco and evenly spread out the pizza crust onto the pan


Step seven: brush on a layer of olive oil and then stick into the oven at 450 for 10 min


icecream carmel delight
my family and i used to always watch the original chopped show on the Food network and one day my family got the idea to have our very own chopped competition at home. we are given certain ingredients that you have to use and anything else in the kitchen is free game to make up a recipe and serve it to the judges or in our case, our parents. here is a recipe i came up with when giving the ingredients of vanilla wafflers and strawberries.
Step one: crush up 1 box of animal crackers in a food proceser.
step two: slowly mealt 1 stick of butter in microwave
step three: mix vanilla waffers and and butter in a medium bowl.
step four: lay an even layer of the vanilla waffer mix into 8 by 8 pan
Step five: heat carmel in microwave tell at consistensy that is easy to spread.
Step six spread carmel envenly in pan.
Step seven: soften ice cream by letting in sit out for a bit before scooping into the pan. flatten the top.
Step eight: put into freezer
Step six: cut up strawberries to put onto ice cream when serving dessert.
Subscribe to:
Posts (Atom)